Oh how much we enjoyed yesterday and getting so messy with our slime. I’ve found another messy play activity for the boys to do with dinosaurs. I’m saving it for tomorrow though, two messy days in a row sounds entertaining, but I’d never catch back up with the cleaning and tidying, so I’m saving it for tomorrow.
Today’s craft is another one courtesy of my “dinosaur craft for kids” search on instagram. The humble hashtag, giving me things to do with my kids. I salute you. I found these Q-tip skeletons on an account from Australia (linked below) and it’s an absolute classic. Also, please comment below with that on earth they call Q-tips in England. Is it the same? I feel like it isn’t but I’ve completely forgotten the term for them there. This is it people. I get my American citizenship, and all my British vernacular starts slipping away. It’s devestating.

For the craft you will need
- black card or paper
- glue
- Q-tips
- Scissors
- a paper dinosaur skull
I made the dinosaur skull templates for this craft on my silhouette cutter. I just googled “dinosaur skull template” then clicked and dragged a free one into the program. I scaled it for 3 inches, and cut out four. I am well aware not everyone has a silhouette or a cricut (although I honestly really cannot recommend them enough). If you don’t have one then drawing/printing an easy template and hand cutting works just as well.
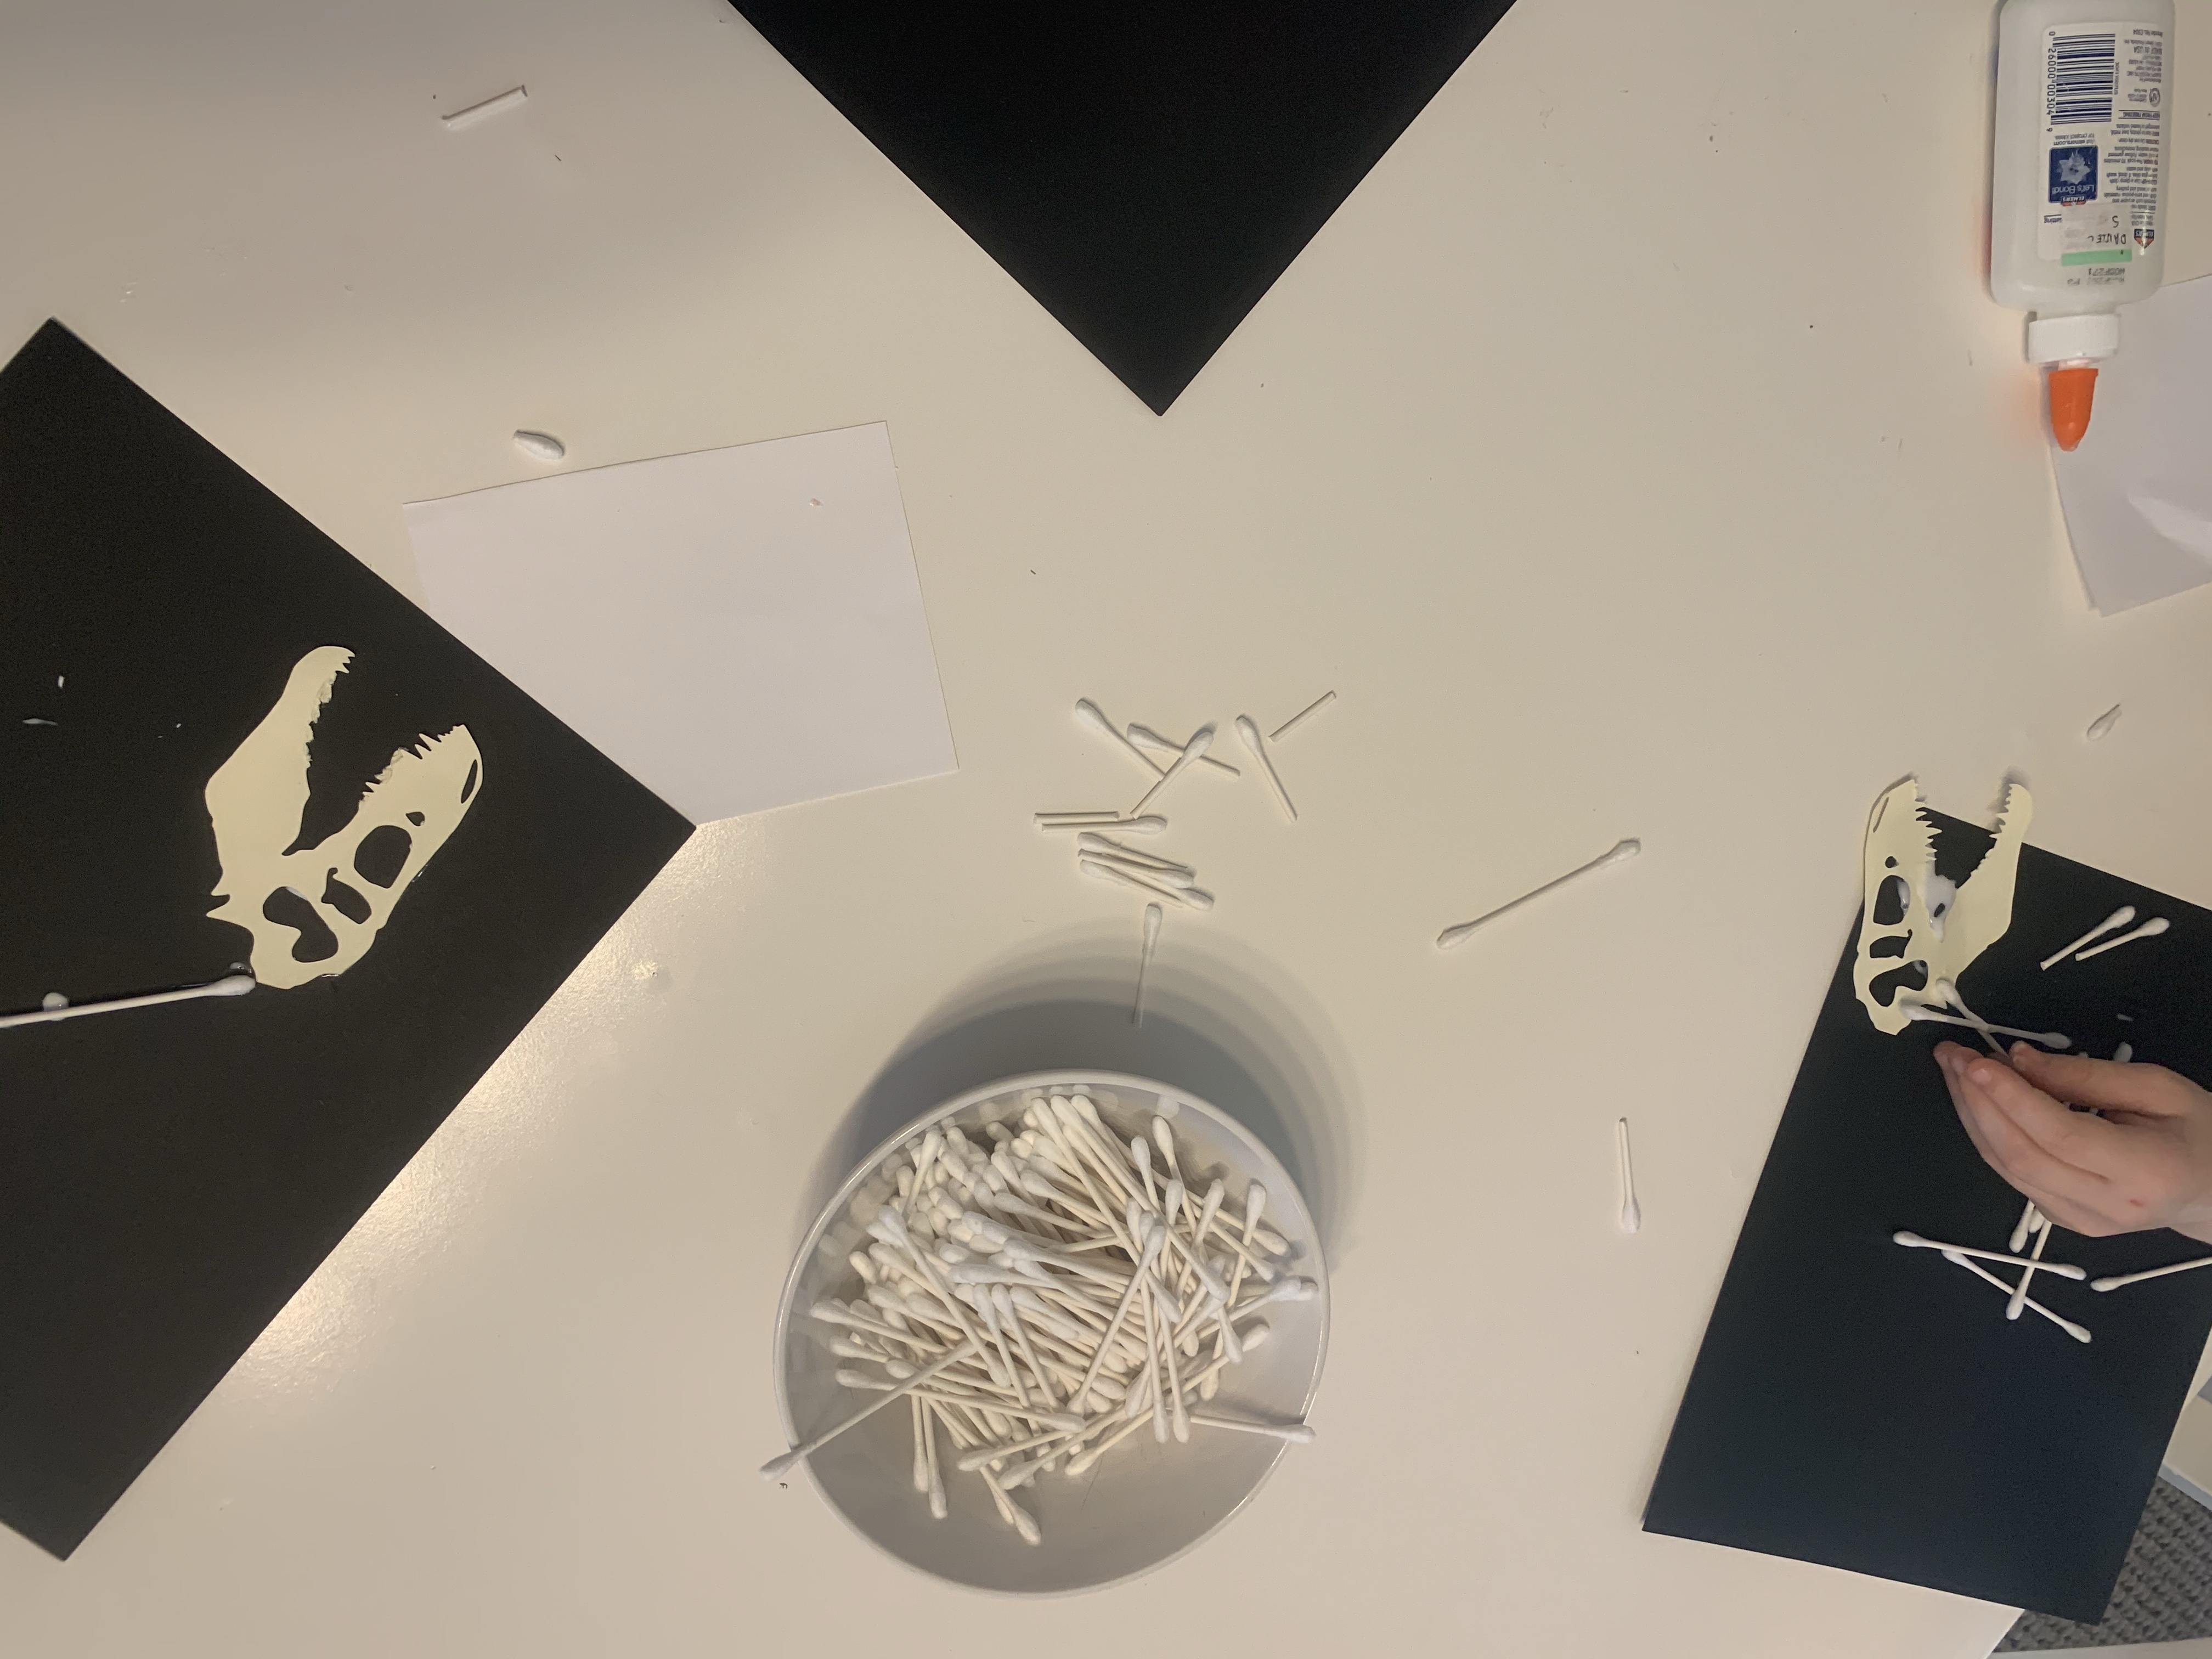
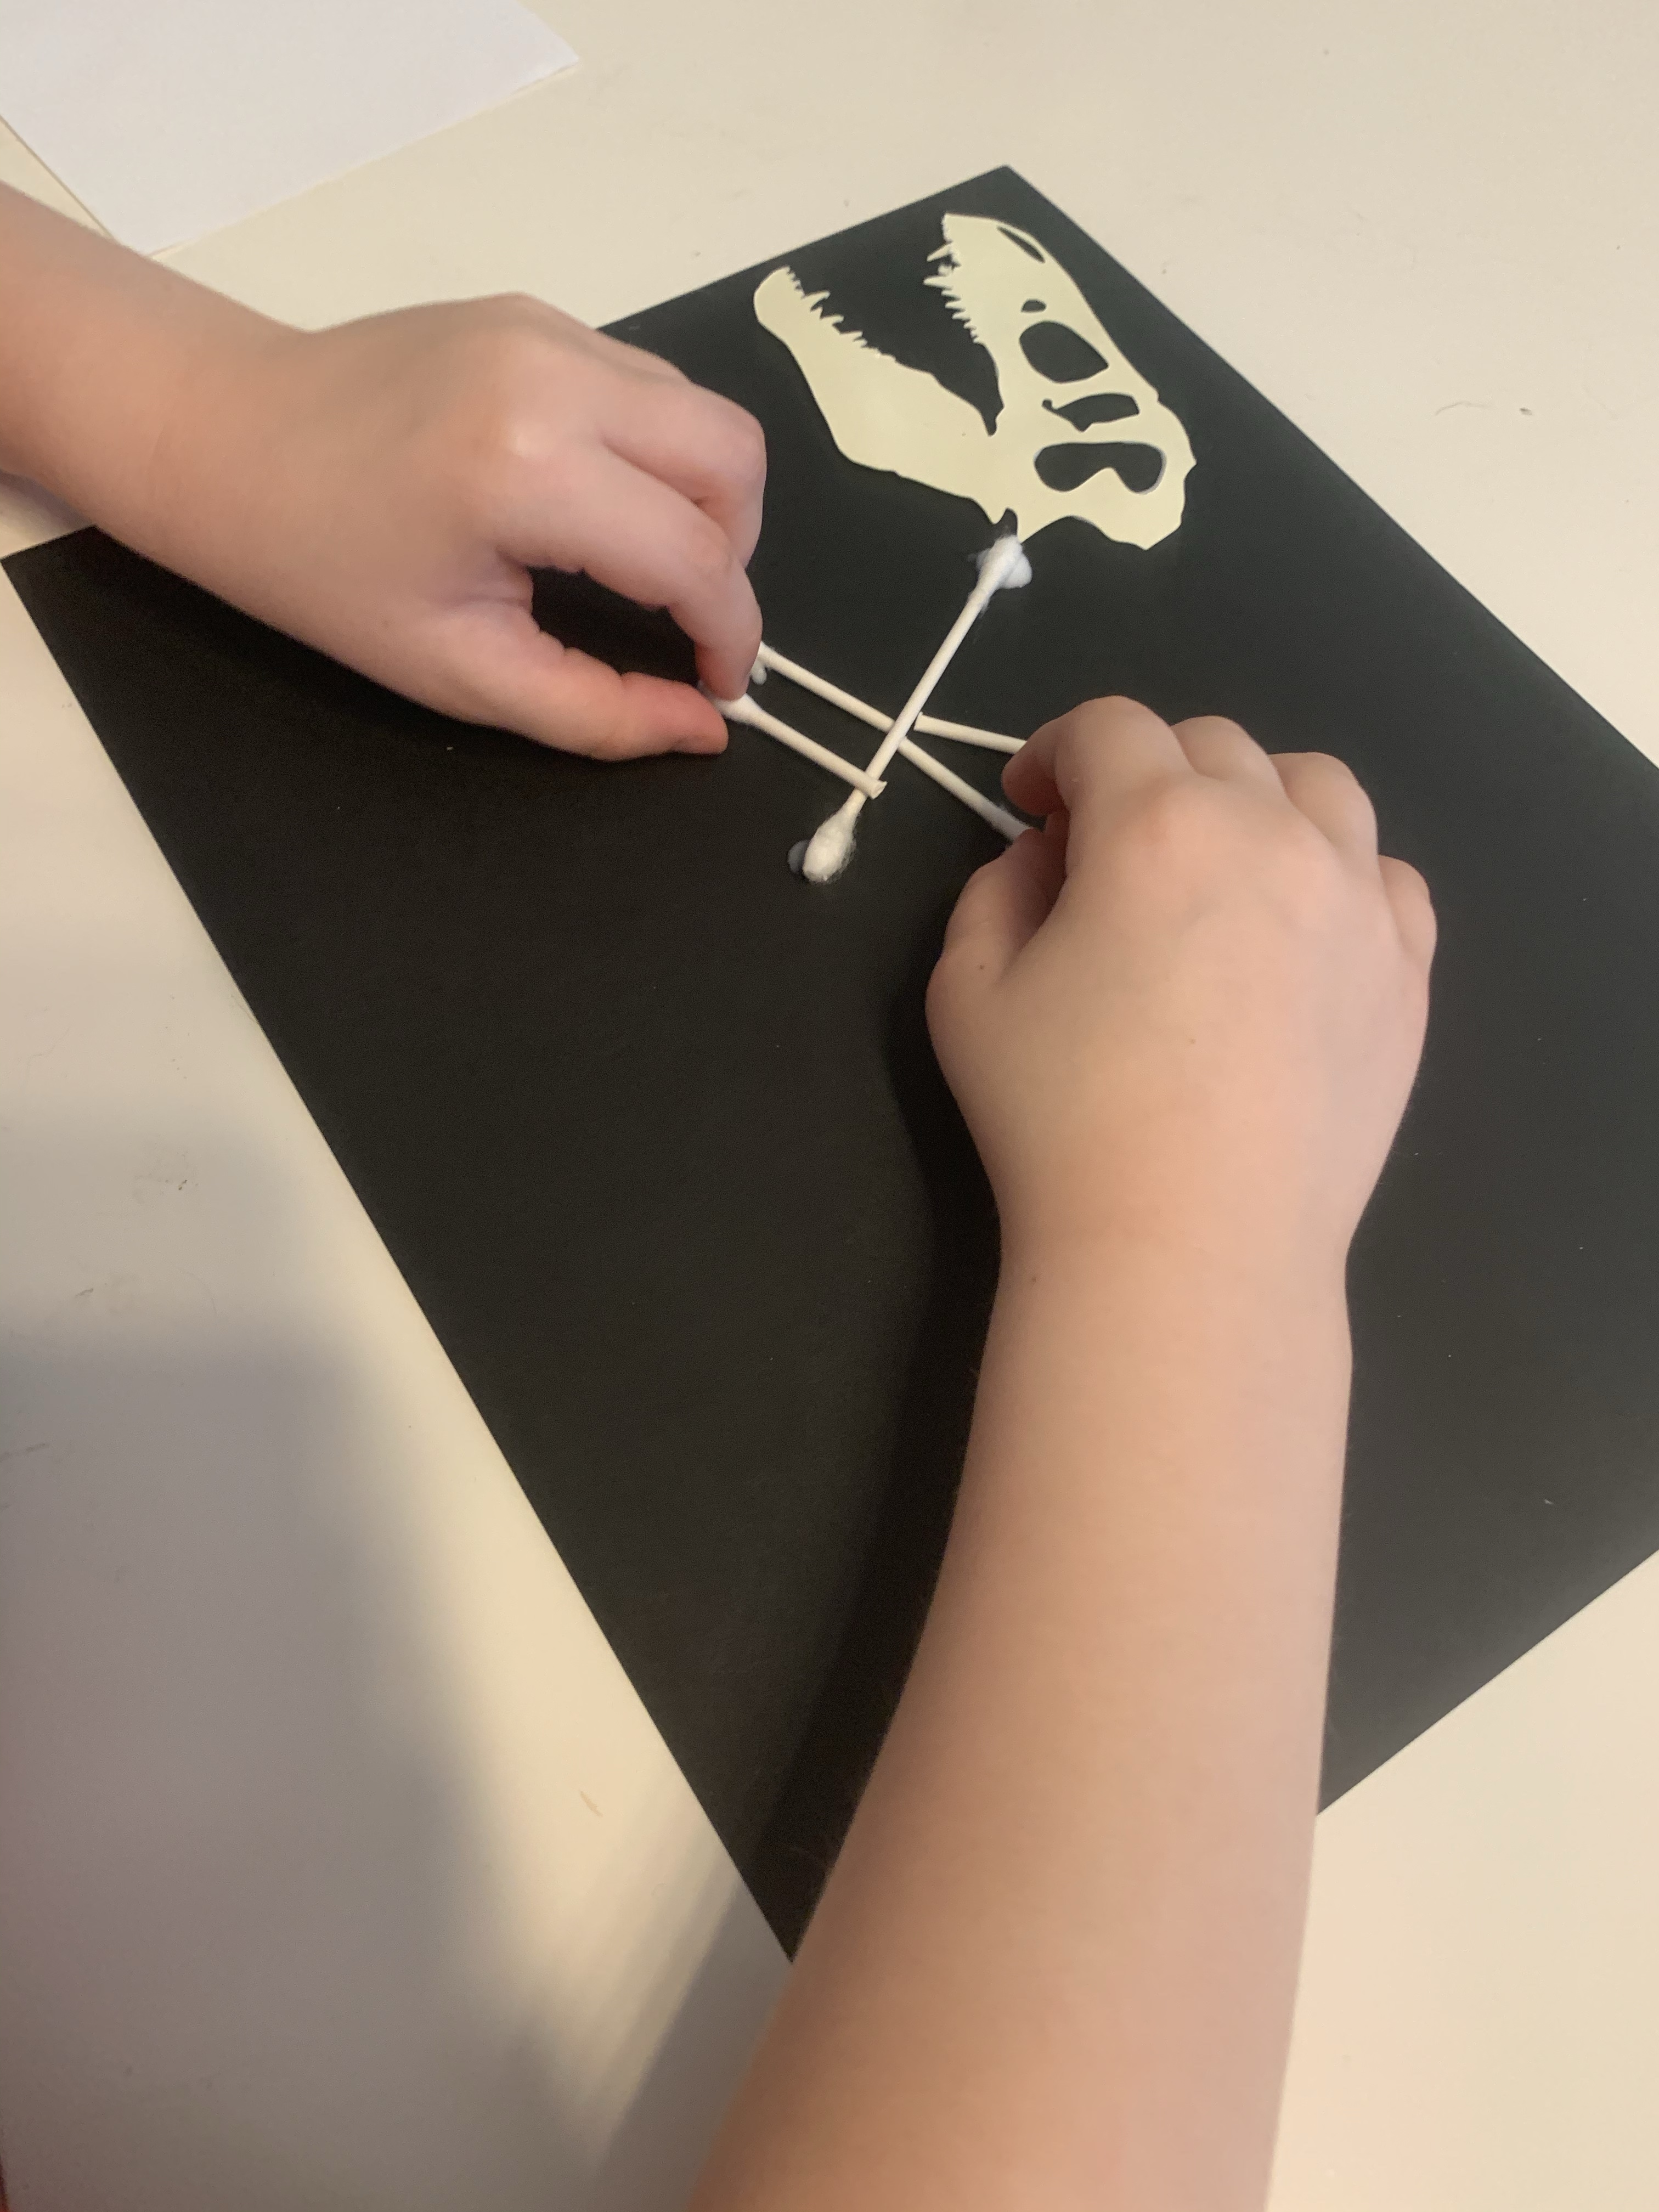
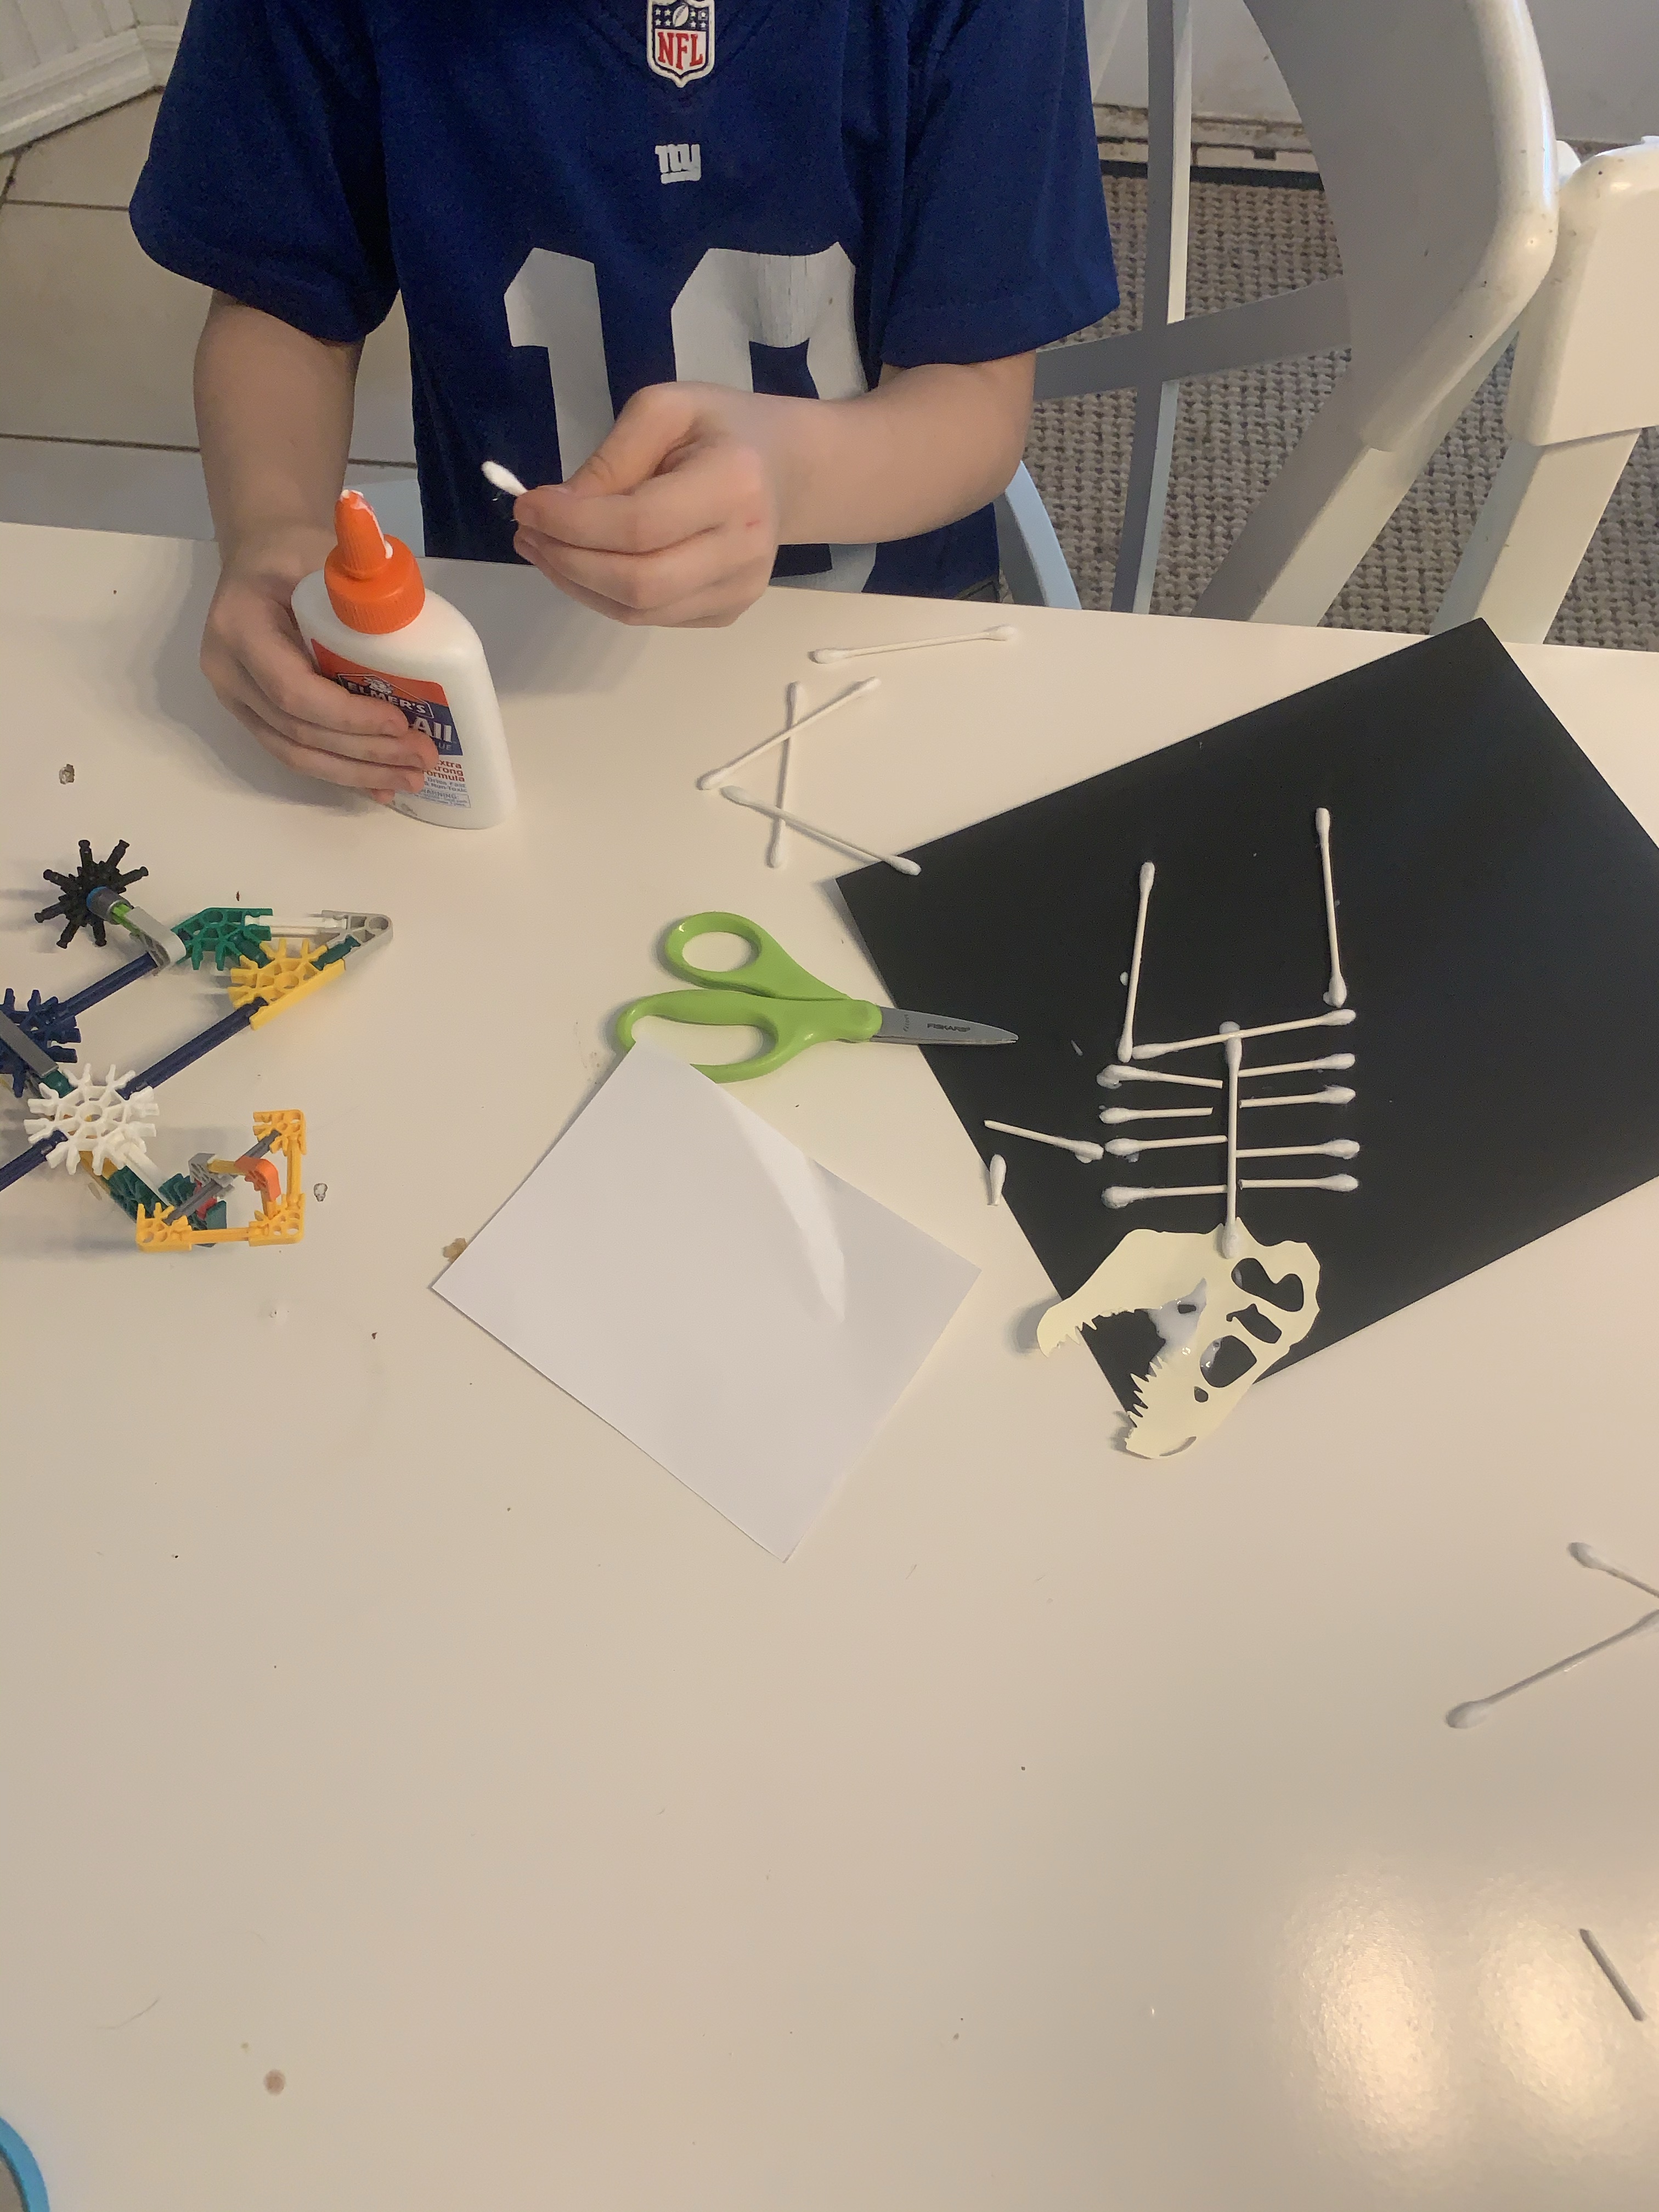
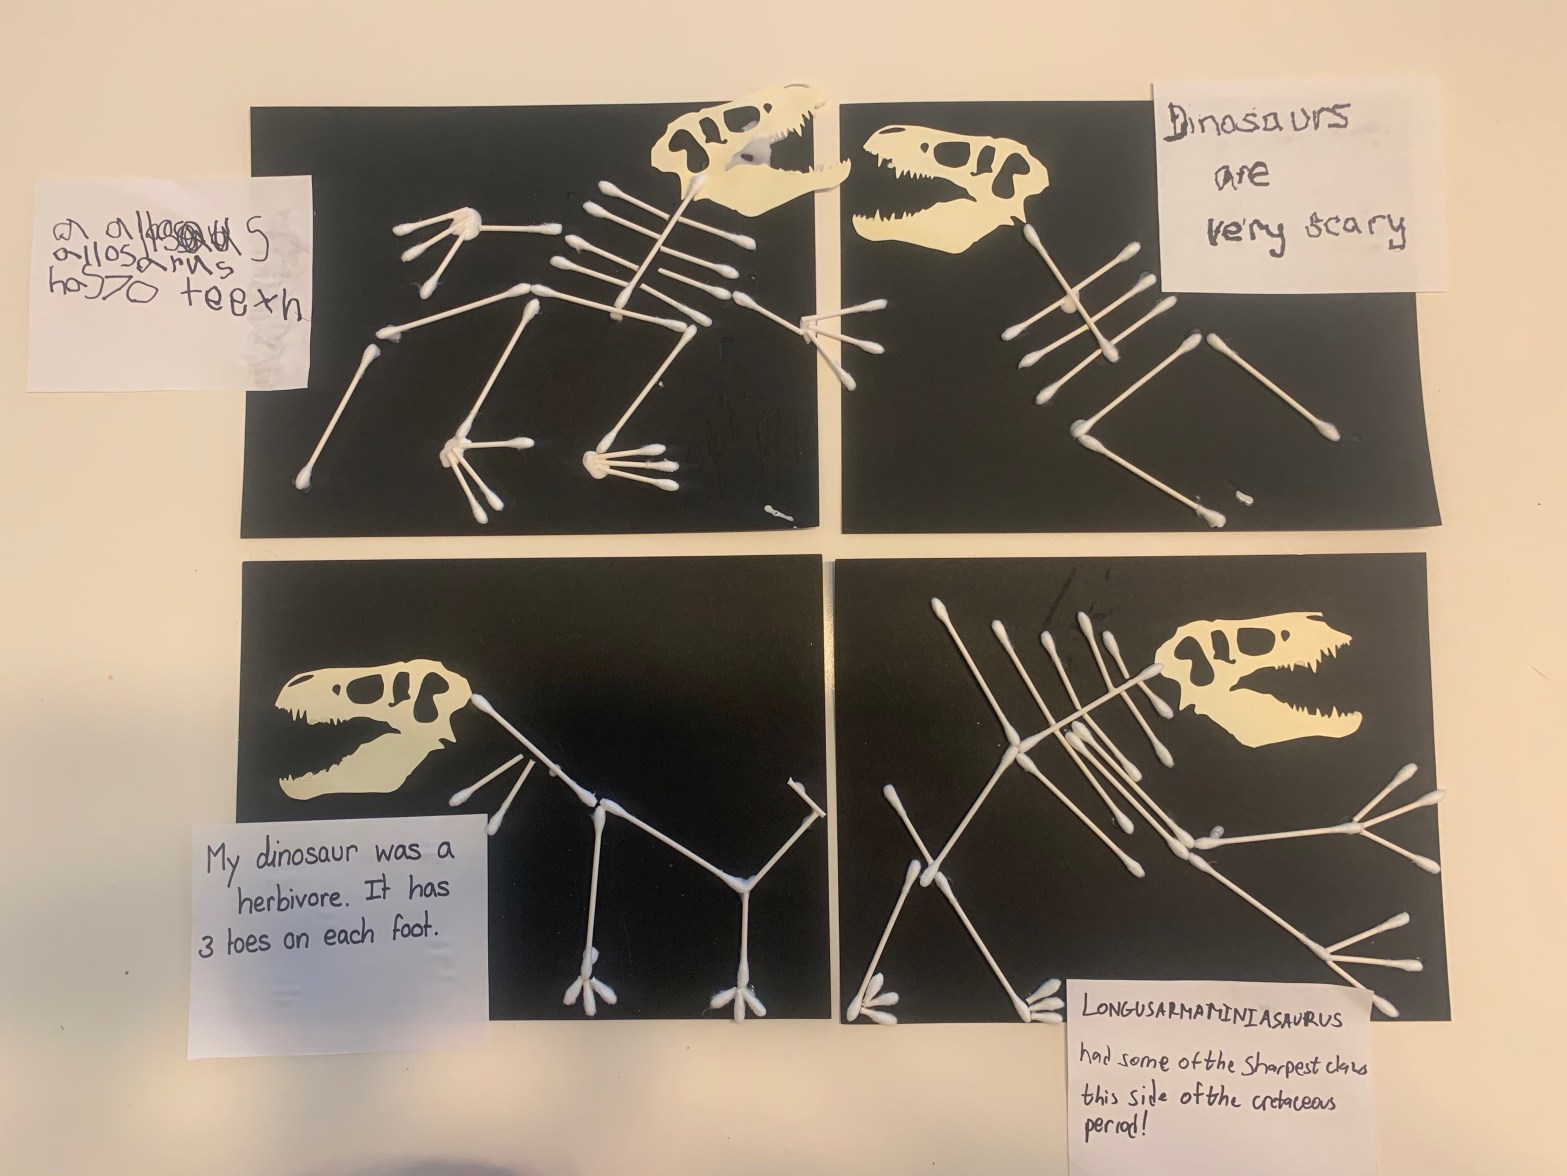
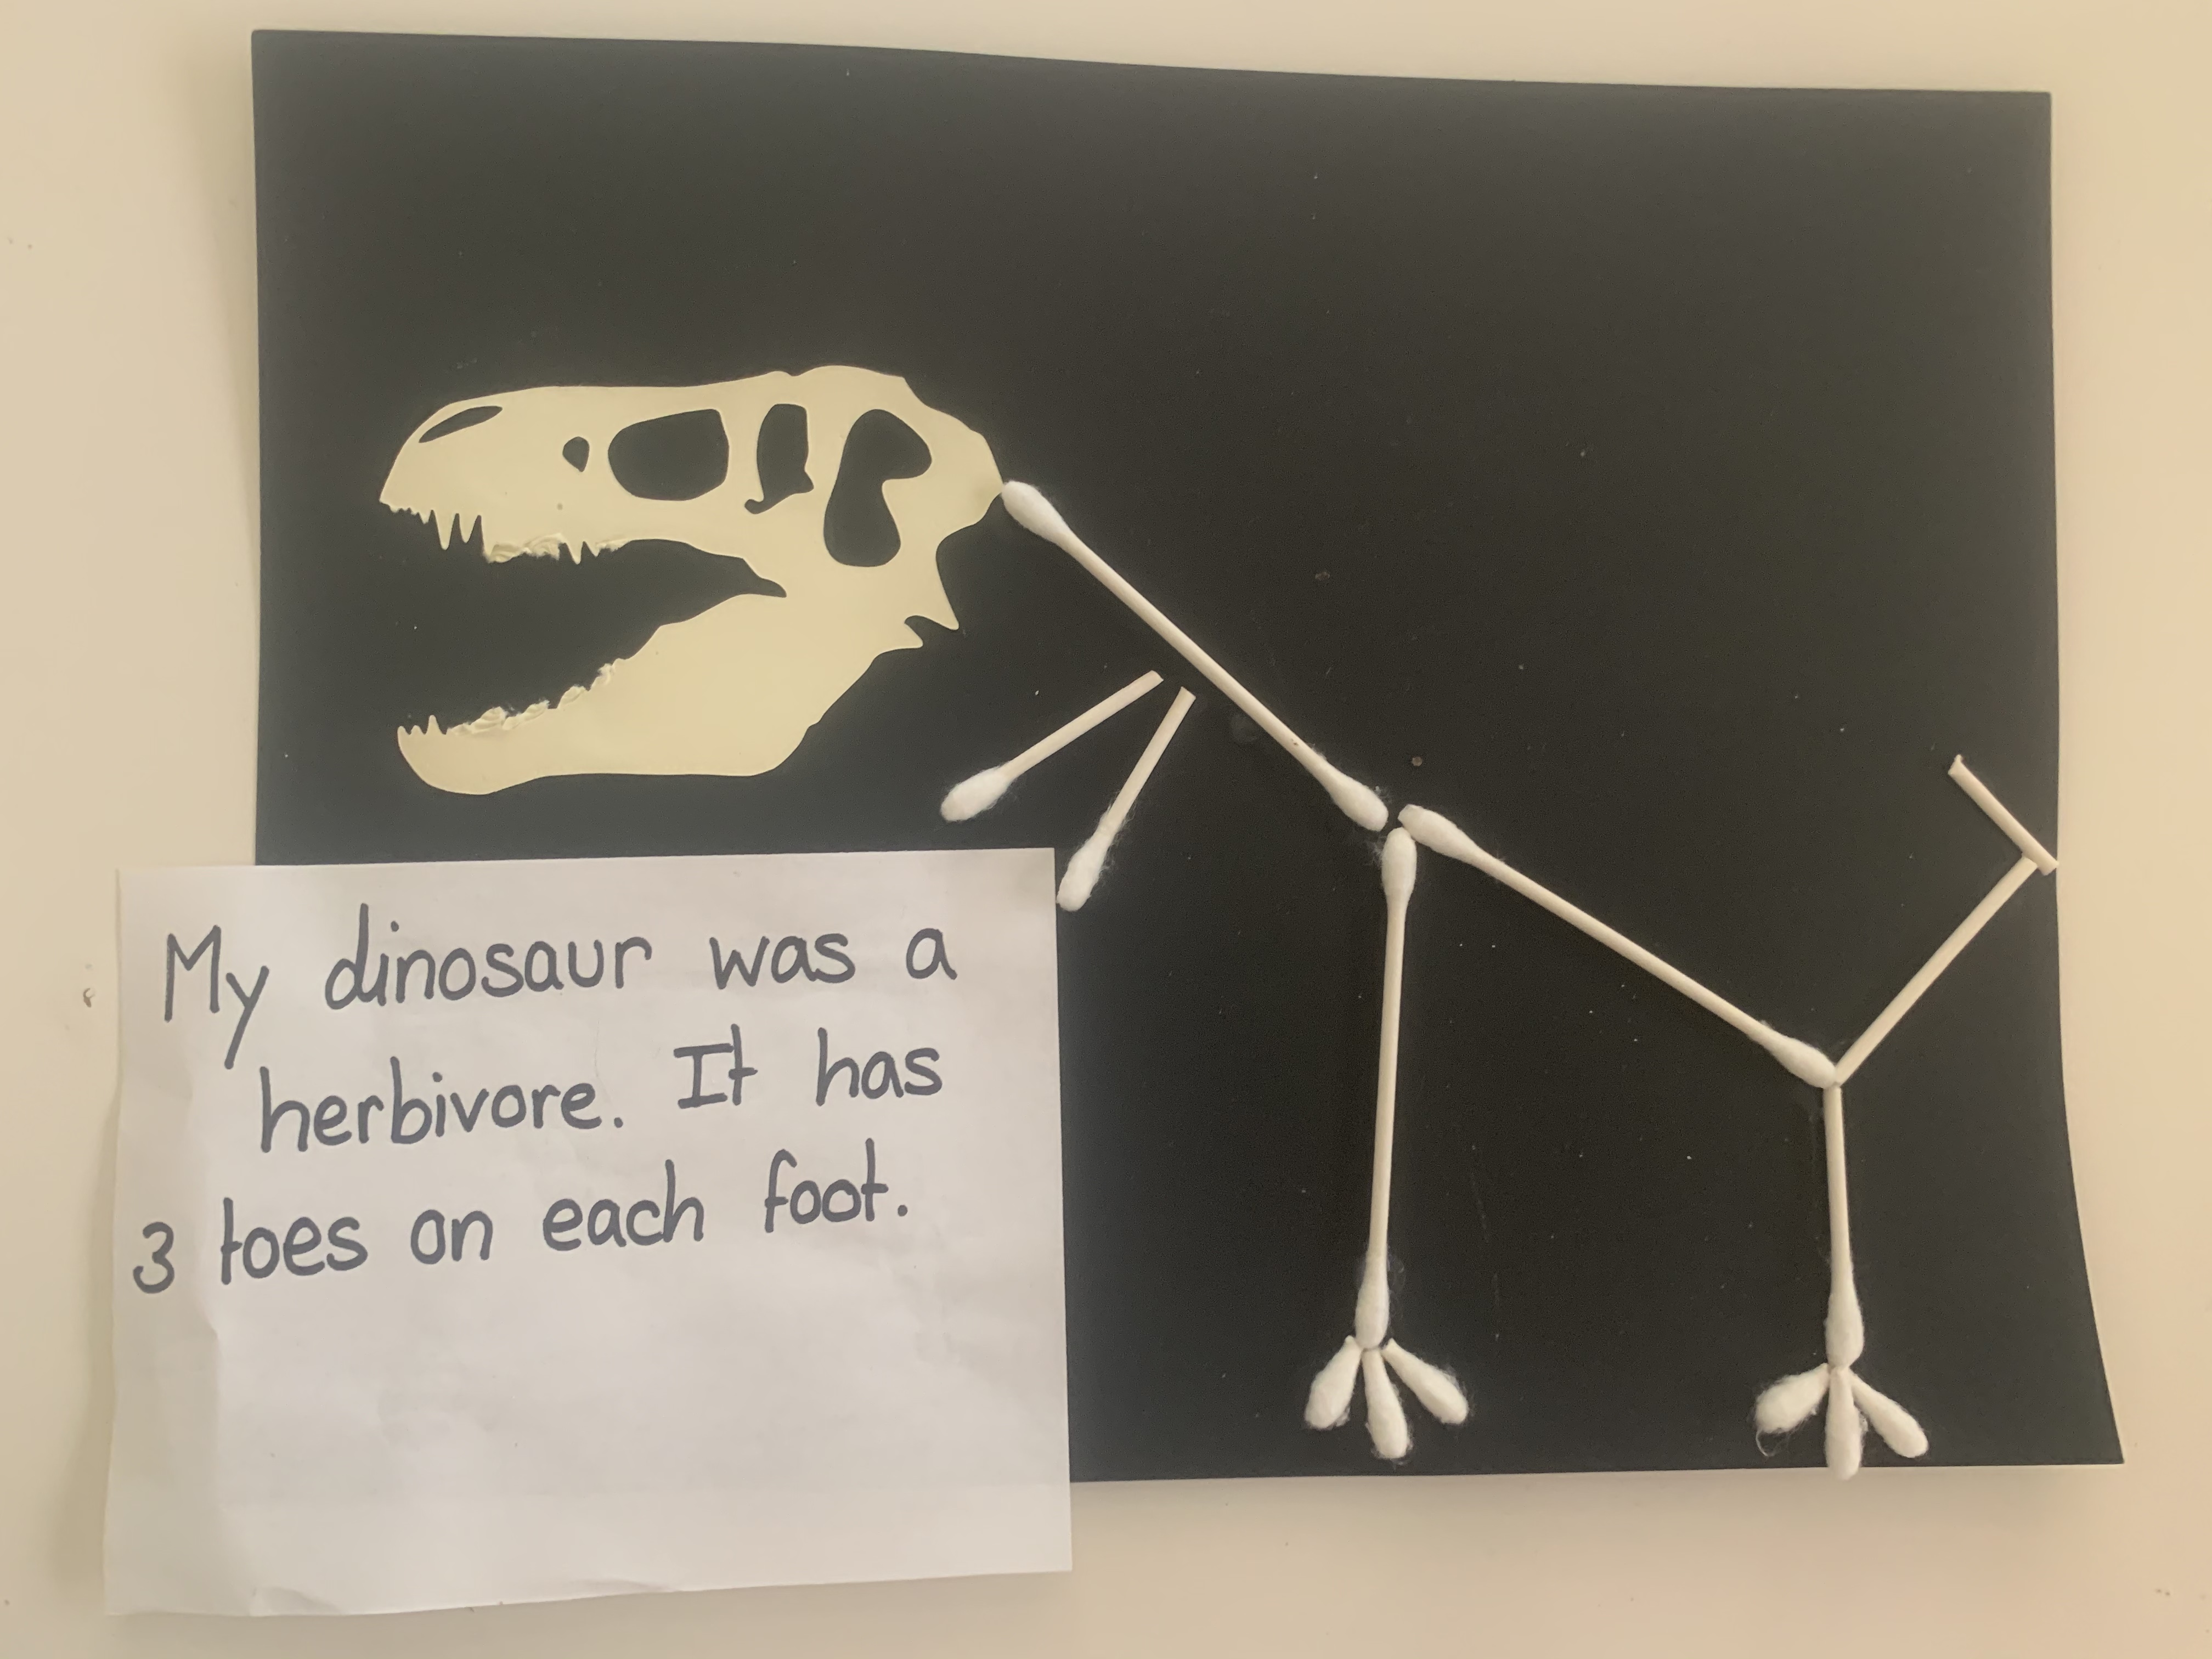
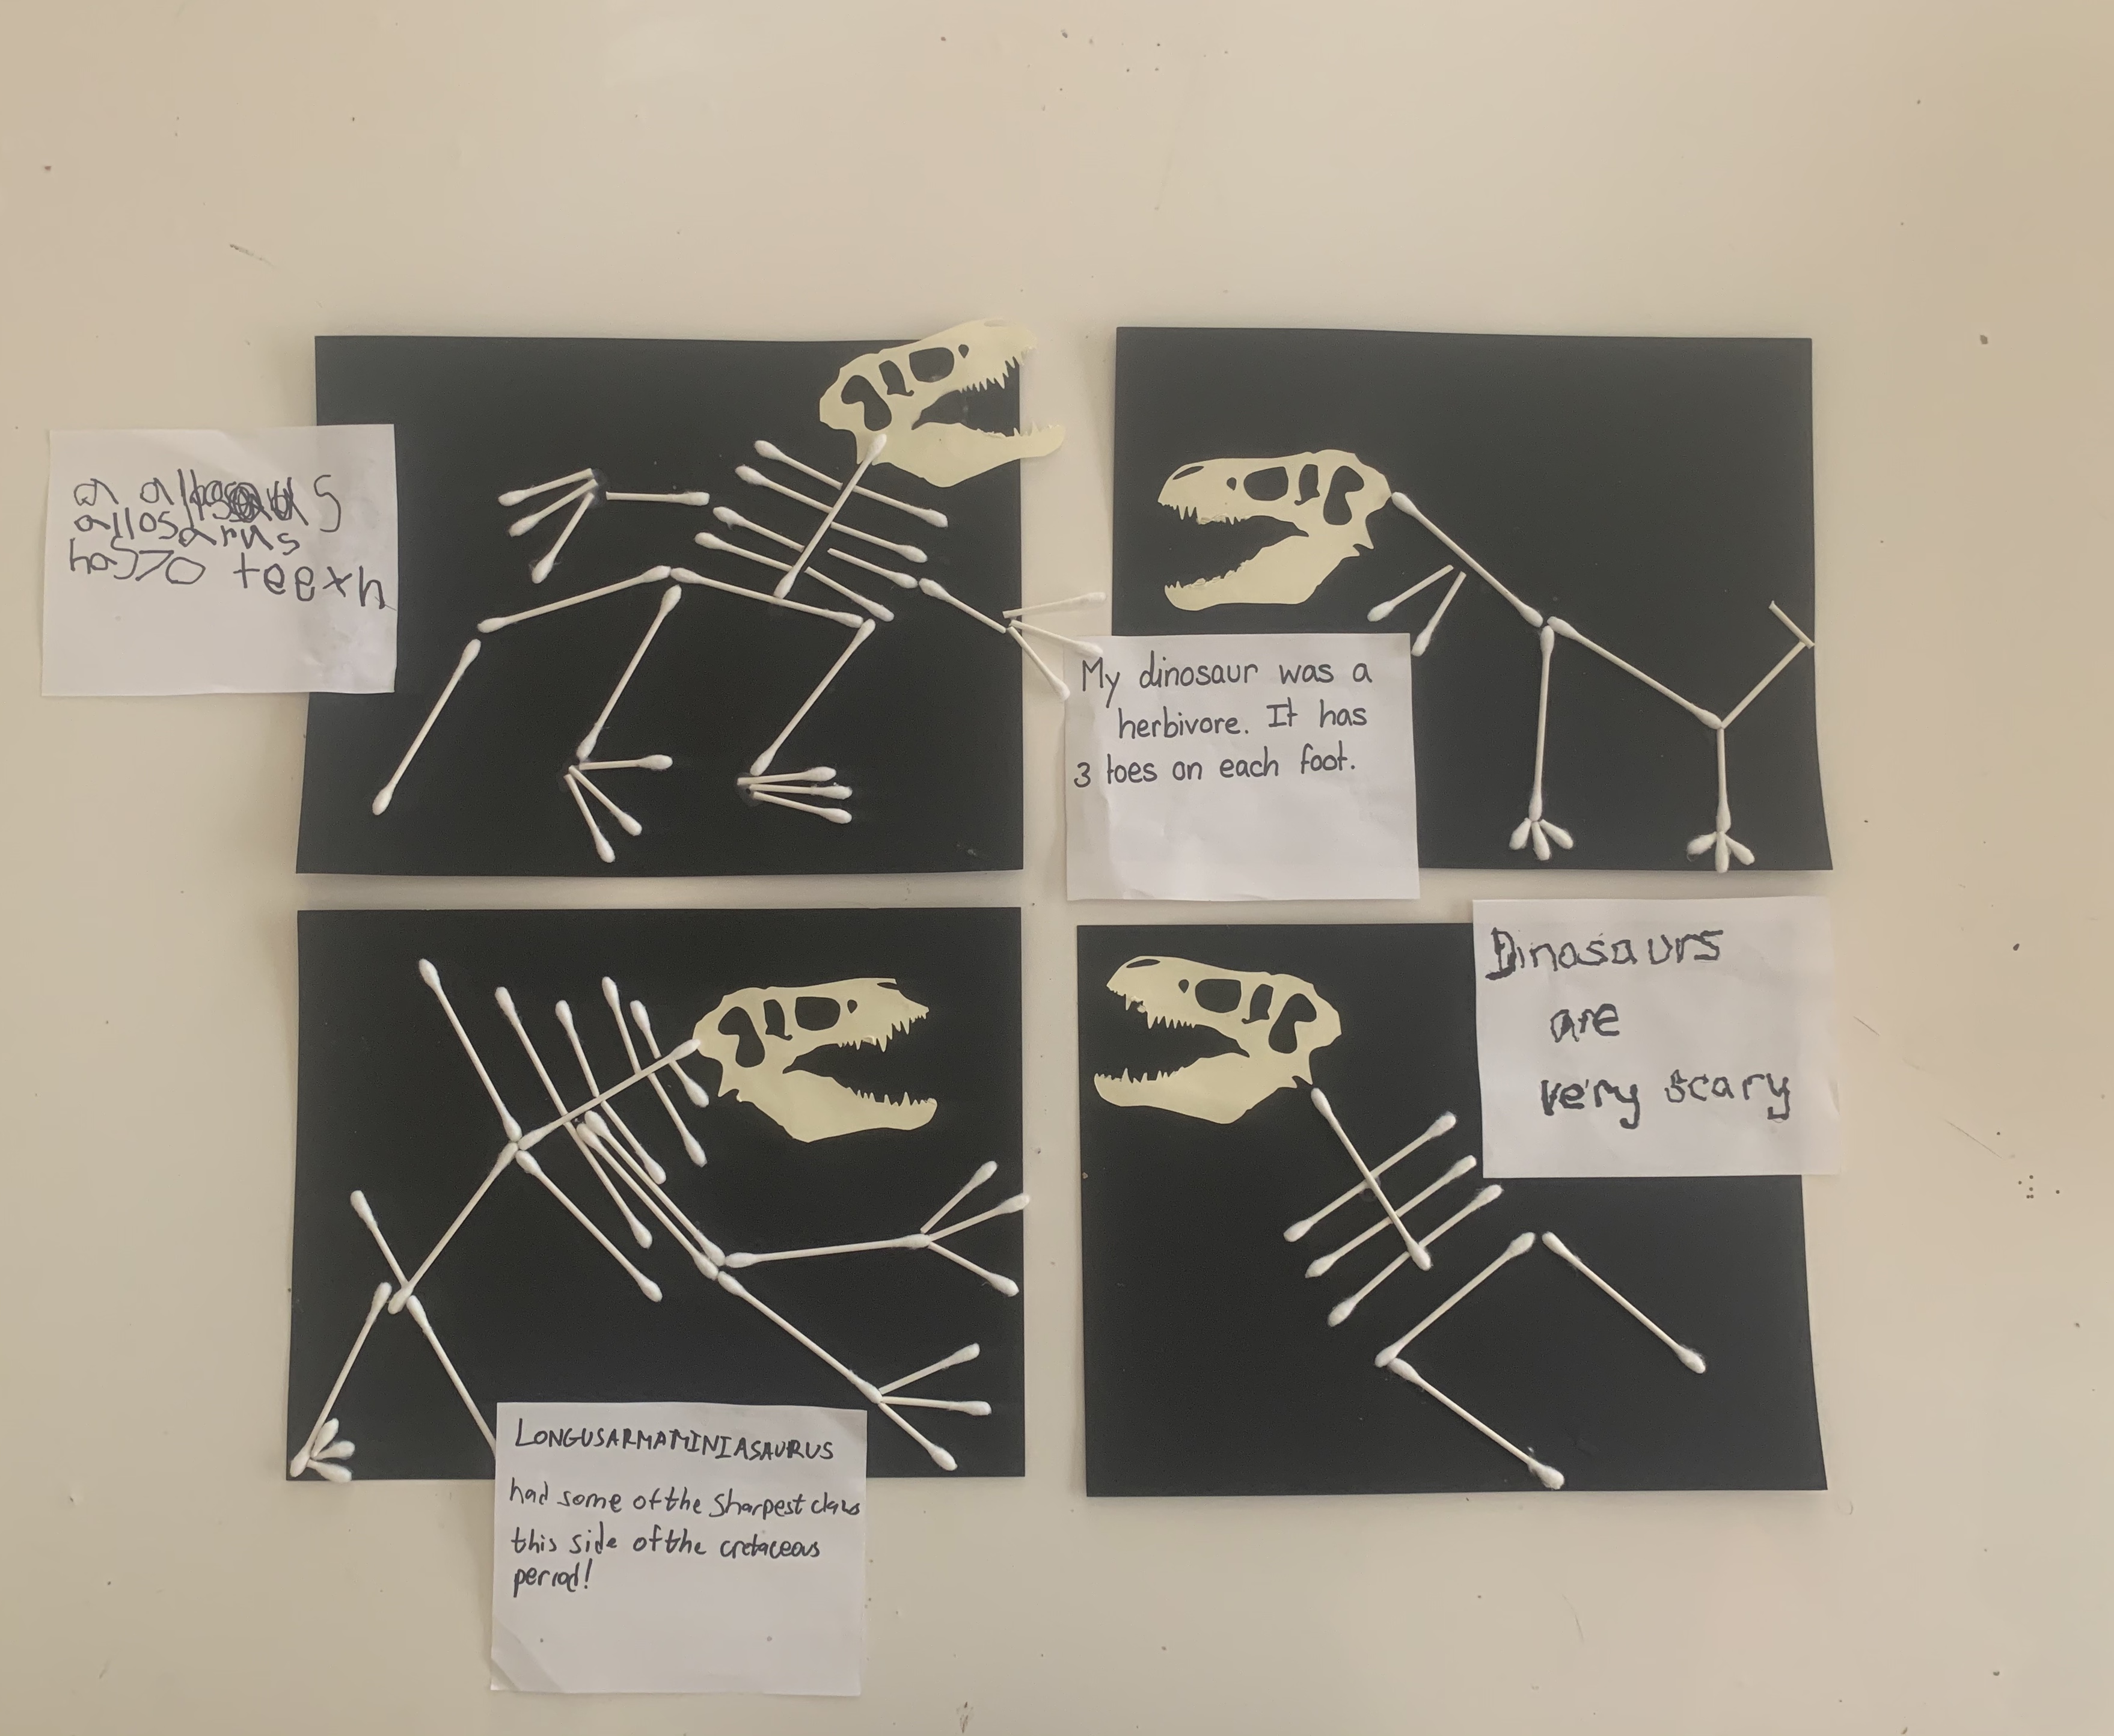
The beauty of this craft really is in its simplicity. First everyone glued on their skulls wherever they wanted them on their paper. After that we all grabbed a handful of Q tips. In a VERY exciting twist J was home so he took part too. I find it completely hysterical when he’s here to take part. His crafting ability is pretty much on level with William. Luckily he’s much better at flying planes than he is at cutting and sticking, so his lack of creative ability isn’t holding him back at work!
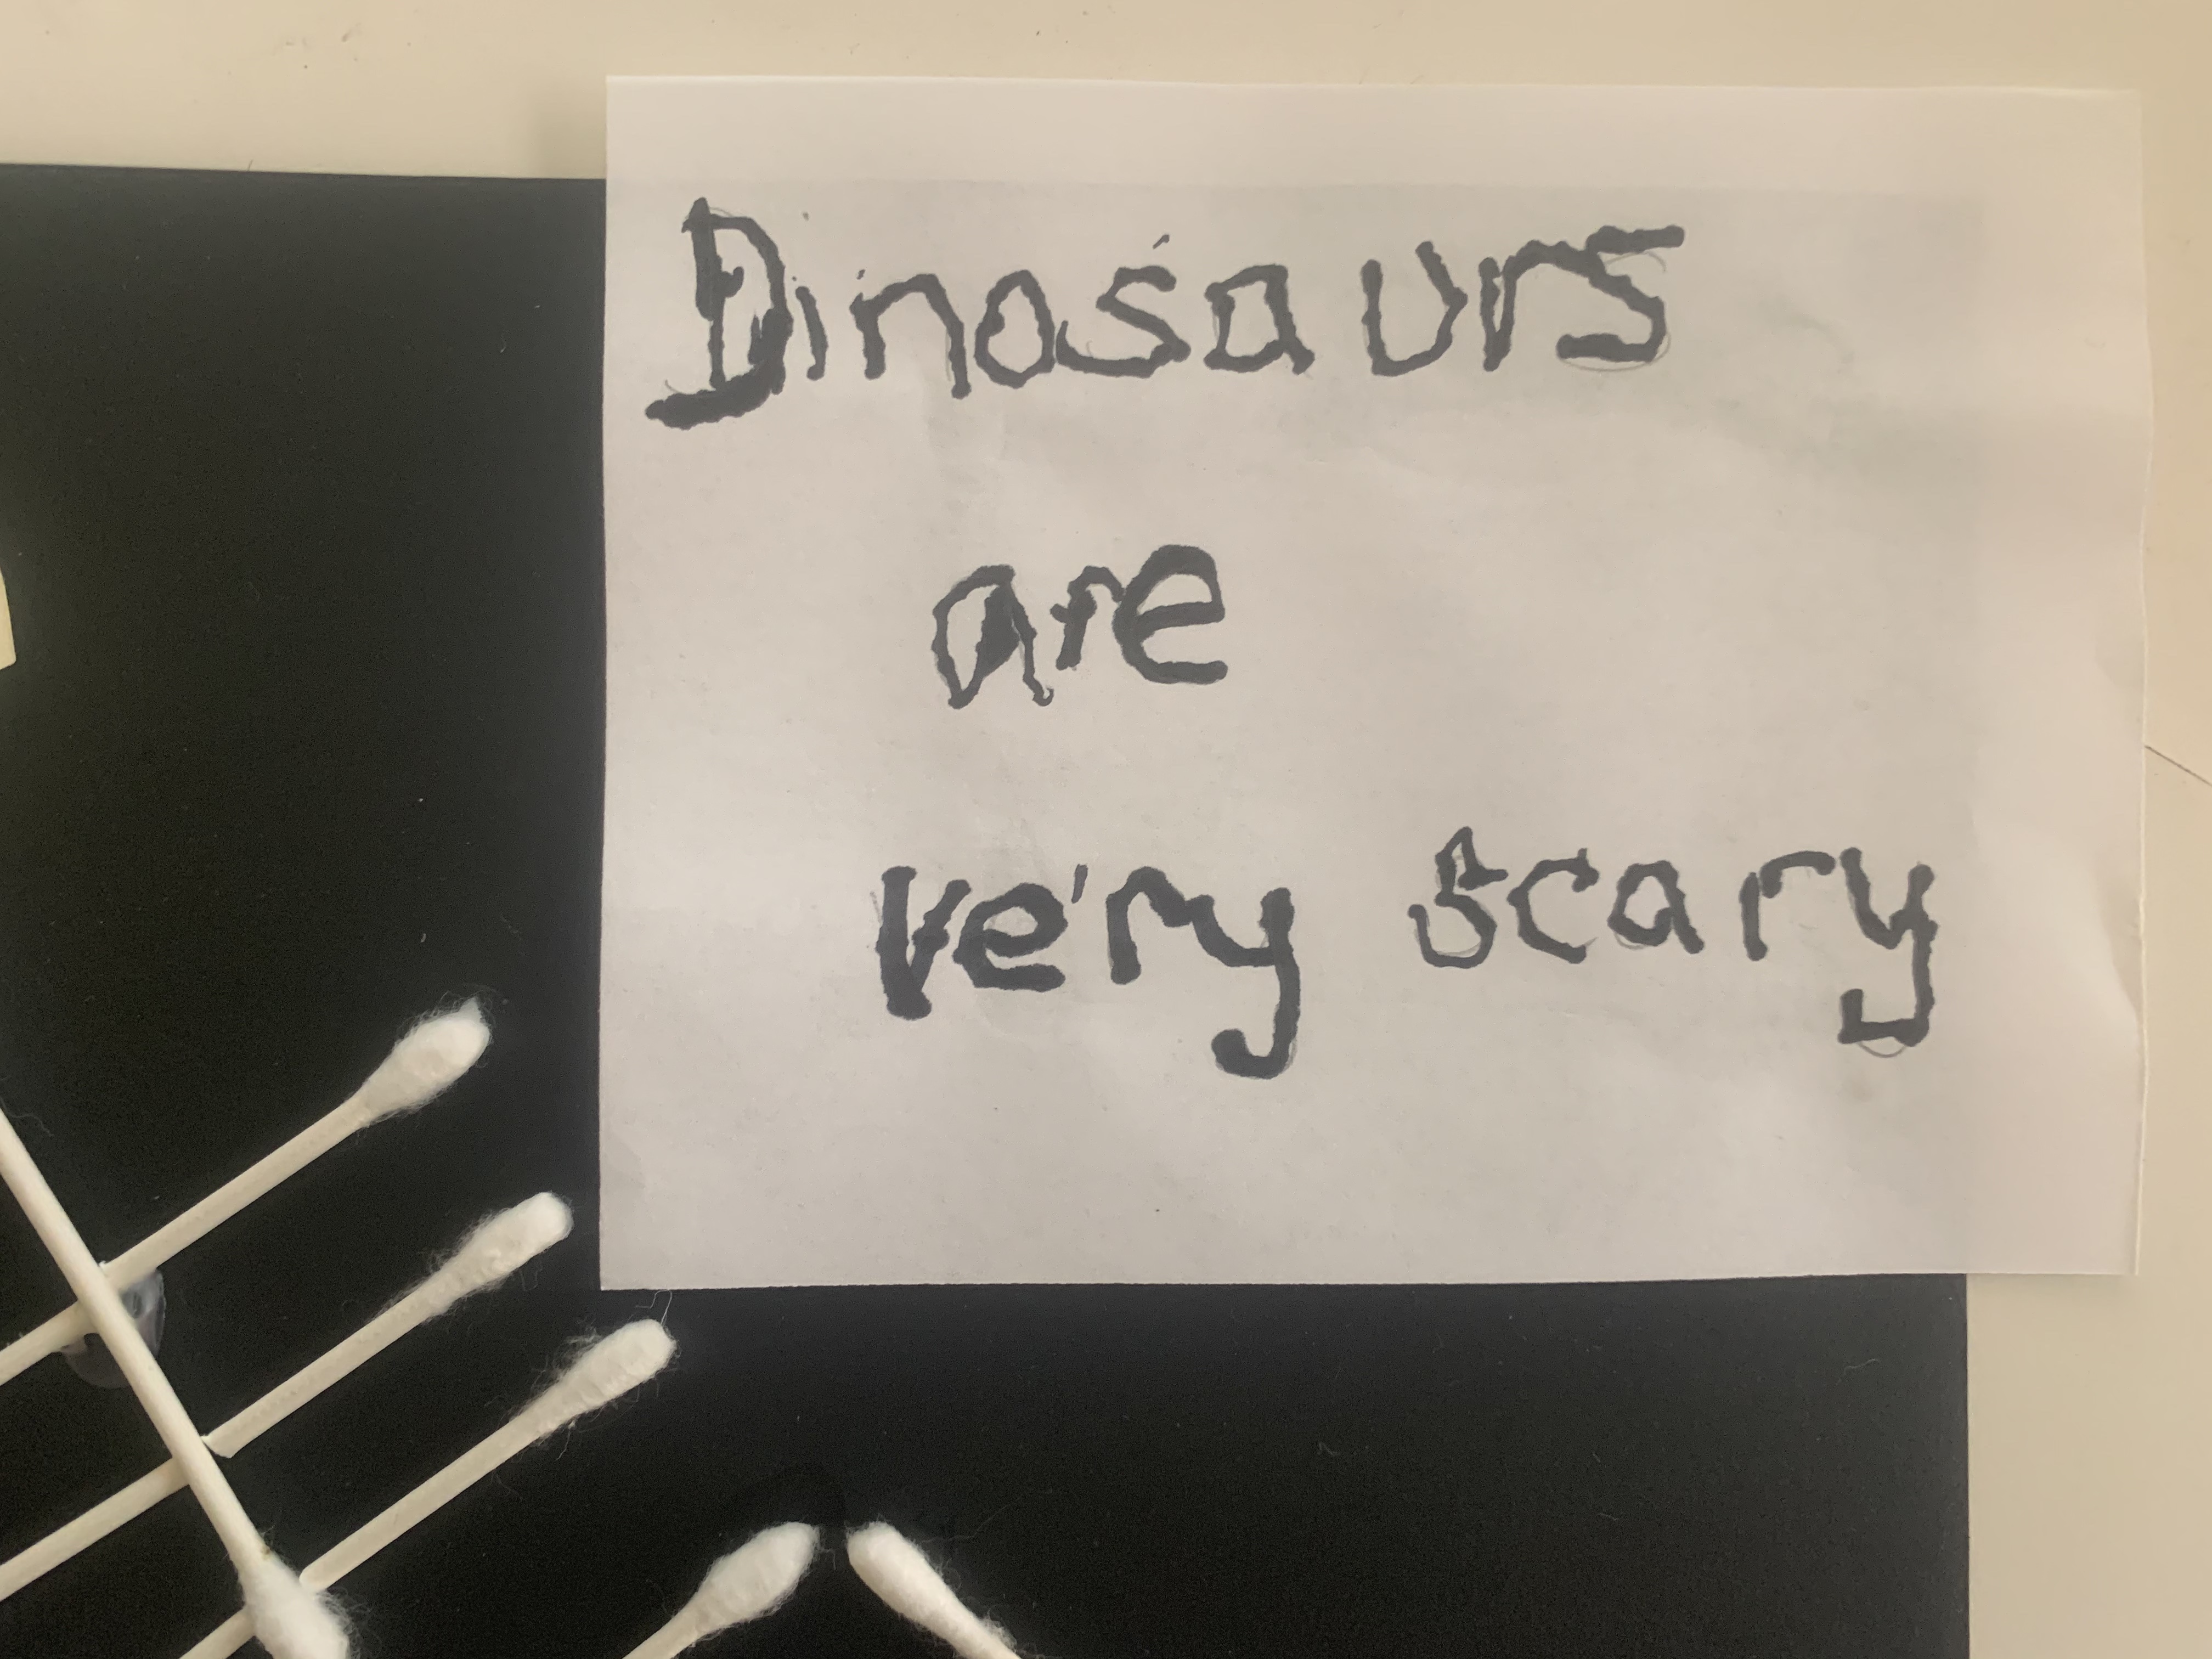
Before we all started glueing we all worked on placing our Q tips on the paper. I cut a few q tips into pieces so that we had the option of differing sizes to work with. In classic William fashion he wanted to make a dinosaur based on fact. Everyone else was working from imagination, but William wanted to do an Allosaurus and very carefully planned his out. Once things were in position we used the glue to attach the q tips into position. I honestly couldn’t love these more. They look so good on the black backing paper, and aside from a little mess from the glue, they were exceedingly easy to put together. I gave everyone a piece of paper to write a little fact about their work. Teddy told me what he wanted to say, and I wrote it lightly in pencil. He then used a sharpie to trace over it. This was a massive error. He pushed quite hard, and now my kitchen table has a vague stain of “dinosaurs are scary” on it. The joys of little kids.


The sun was shining today and thankfully the American Natural History museum website had the ideal activity dinosaur tracking activity to do in the sunshine. I’ve linked the worksheet below, if you don’t have a printer you can skip the coloring of the tracks on the sheet and just move straight to asking your kids the questions verbally .

I foolishly took the photo above after we had been outside to complete the track part of the activity. That’s why it’s a little worse for wear. The sheet suggests that you make tracks in snow, mud, or sand. However we’re in a landlocked state at the start of summer, so I improvised. I followed the instructions here to make flour puffy paint that is suitable for outside and washes off a sidewalk. I made it a little thinner than I would have done normally, to increase the amount, and I also doubled the recipe. I then poured it all into one of our messy trays and put it out on the street. I took a yard stick, a tape measure, a board marker, and our wipe down pouch.
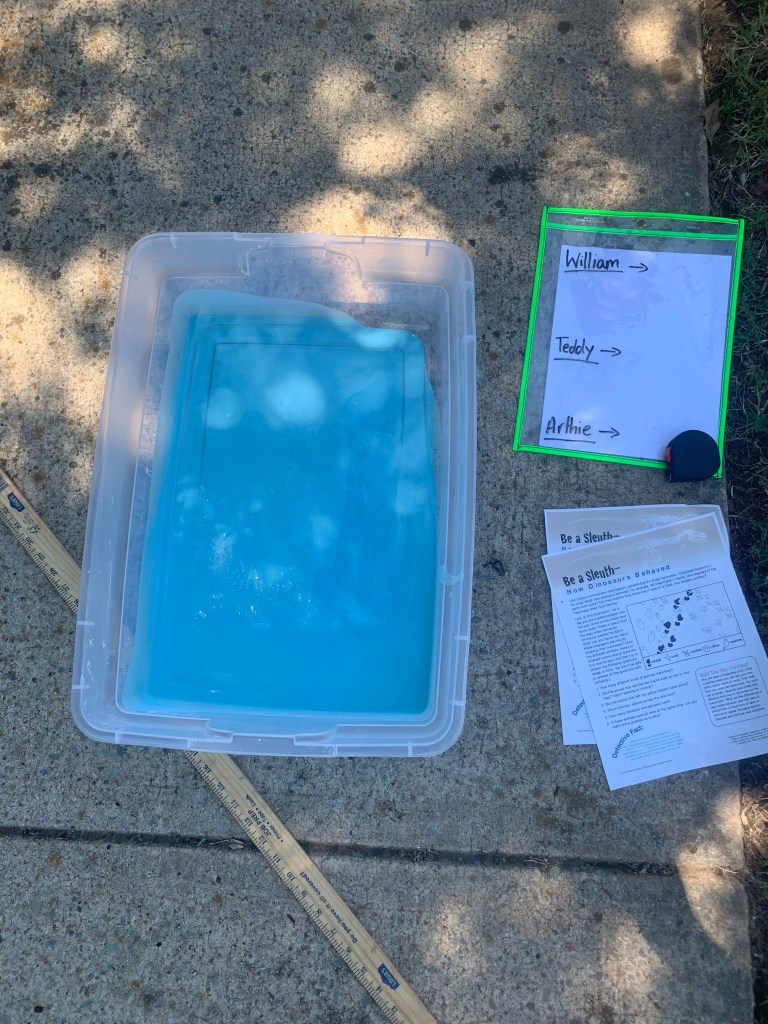
The concept was pretty simple. The boys stood in the paint. Then started at our start line and walked down the street. We then measured the distance between their footprints. Once they had done it walking, we repeated the experiment with them running. We measured again, wrote down our results and discussed why there was a difference. We then related it back to dinos and talked about how their tracks could tell us about their size, and their speeds.

If you’ve got space, and don’t mind your kids getting a little messy this is a super one to try. Have wipes on hand to clean their hands and feet afterwards, and maybe some band aids! Enjoy pals.
LINKS AND SOURCES TO RESOURCES
- Craft: Q-tip dinosaur skeletons
- Read: Beyond dinosaurs: first flying creatures
- Educate: Be a sleuth: dinosaur tracks
- Watch: Top 10 Dino songs for kids
